
Nest Thermostat 2 Wire Hookup
/
Nest E and Nest Gen 3 are both 2 wire hookup compatible.
In this post we teach you how you can use install a Nest Thermostat 2 Wire Hookup. The Nest Thermostat is compatible with 2 wire low voltage HVAC systems that are either heat only systems or cooling only systems.
Related Post: Using Nest With Alexa
Nest Thermostat 2 Wire Hookup: What You Need To Know
Systems compatible with a Nest Thermostat 2 Wire Hookup generally fall into two categories which are heat only or cooling only systems. In order to be compatible with the Nest Thermostat the systems must be low voltage wiring at the thermostat. It’s important to know what kind of system you have before you attempt to install a Nest Thermostat 2 wire hookup.
We’ve listed the most common type of 2 wire low voltage HVAC systems below. If you know if you have a low voltage heating or cooling system you can skip below to how to install a Nest Thermostat 2 wire hookup.
If not we’ve listed the type of HVAC systems and how to tell them apart. Most typical HVAC systems are low voltage systems and are compatible with the Nest Thermostat 2 Wire Hookup.
Types Of 2 Wire HVAC Systems Compatible With Nest
Boiler System (Low Voltage Controlled) - Nest 2 Wire Compatible
Radiant Floor Water/Steam Heated System (Low Voltage Controlled) -Nest 2 Wire Compatible
Heat Only Furnace With Blower (Low Voltage Controlled) -Nest 2 Wire Compatible
Cooling Only Air Handler With Blower (Low Voltage Controlled) -Nest 2 Wire Compatible
Radiant Floor or Baseboard Electrical Heating System (Low Voltage Controlled) -Nest 2 Wire Compatible
Radiant Floor or Baseboard Electrical Heating System (High Voltage Controlled) 0- (Not Compatible)
Do You Have a High Voltage or Low Voltage Thermostat?
If you know what style of HVAC system you have you can use the list above. If not you can determine if you have a high voltage or low voltage thermostat with the following steps.
You will need a multimeter, we recommend the either of the two multimeters below.
Turn off the power to your HVAC system
Gently remove your existing thermostat from the wall and position it in a way so that the the wires won’t short circuit. Take the thermostat cover off if needed. You will need to have enough access to touch the thermostat terminals with your multimeter probes.
Turn on your multimeter and set to AC voltage.
Turn the HVAC power back on.
Place your multimeter probe to each terminal or wire connected to the thermostat and take a voltage reading. If the voltage is approximately 24V you have a low voltage thermostat. If the reading is approximately 120V then you have a high voltage thermostat.
Nest Thermostat 2 Wire Hookup Installation
Nest Thermostat 2 Wire Hookup Wiring Diagram for Heating
Both the Nest E and Nest Gen 3 Thermostats can be installed with 2 wires. The procedure to install the Nest thermostat with 2 wires is the same for both thermostats.
Turn off the power to your HVAC system
Remove the existing thermostat and mark the wires.
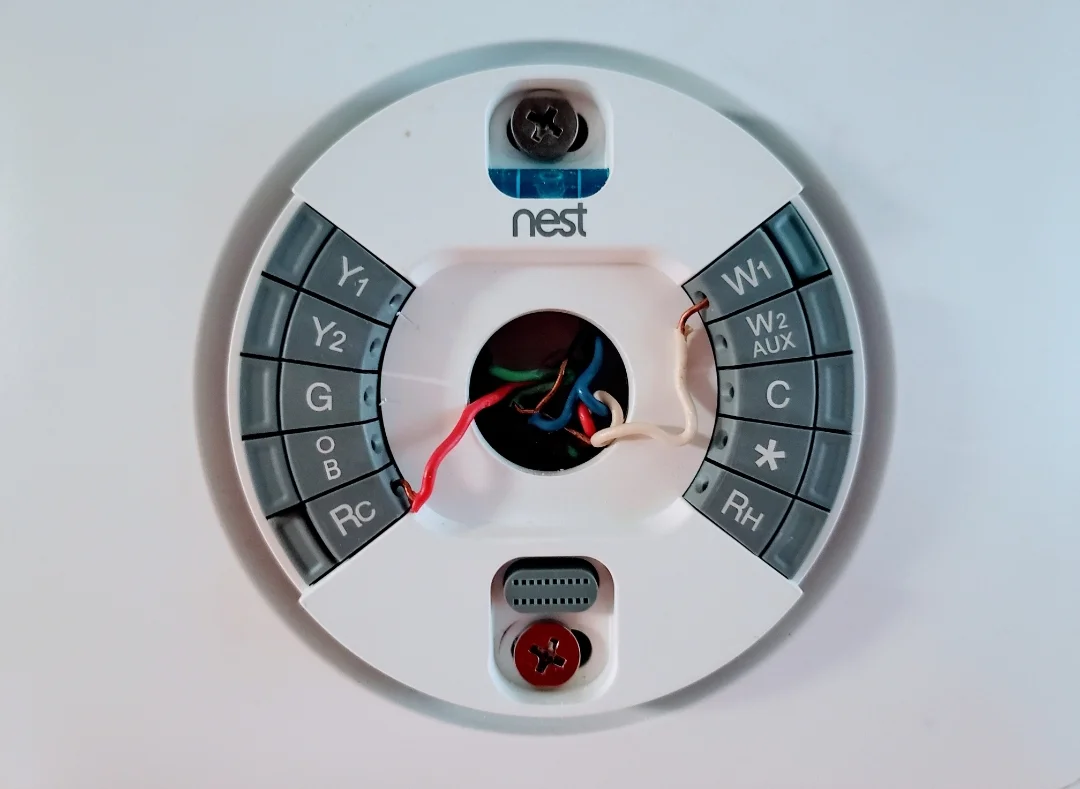
Install the Nest Baseplate
If you have a heat only system you should connect your thermostat wires to the W terminal and Rh terminals. If you have a cooling only system you should connect your thermostat wires to the Rc and Y terminals.
Install the Nest Thermostat on the baseplate
Turn on the HVAC power.
Follow the instructions to set up your Nest Thermostat with your wifi network.

Nest Thermostat 2 Wire Hookup Wiring Diagram Air Conditioning
Nest Thermostat 2 Wire Hookup Not Charging Battery
If you’re Nest Thermostat is not charging the battery with 2 wires hooked up you will need to add a common wire with a remote transformer. The below video shows you how to add a common wire using a plug in transformer. This is the simplest method to help charge up your Nest Thermostat battery. The graphic below shows the common wire transformer we recommend which is available on amazon.
The best way to hook up the transformer is to connect it to the unused R terminal on your thermostat weather if be Rc or Rh and the C terminal on your Nest Thermostat base plate. If that doesn’t work leave the common wire transformer connected to the Nest base plate and remove the R wire common from your heating system at the Nest base plate and cap it off.
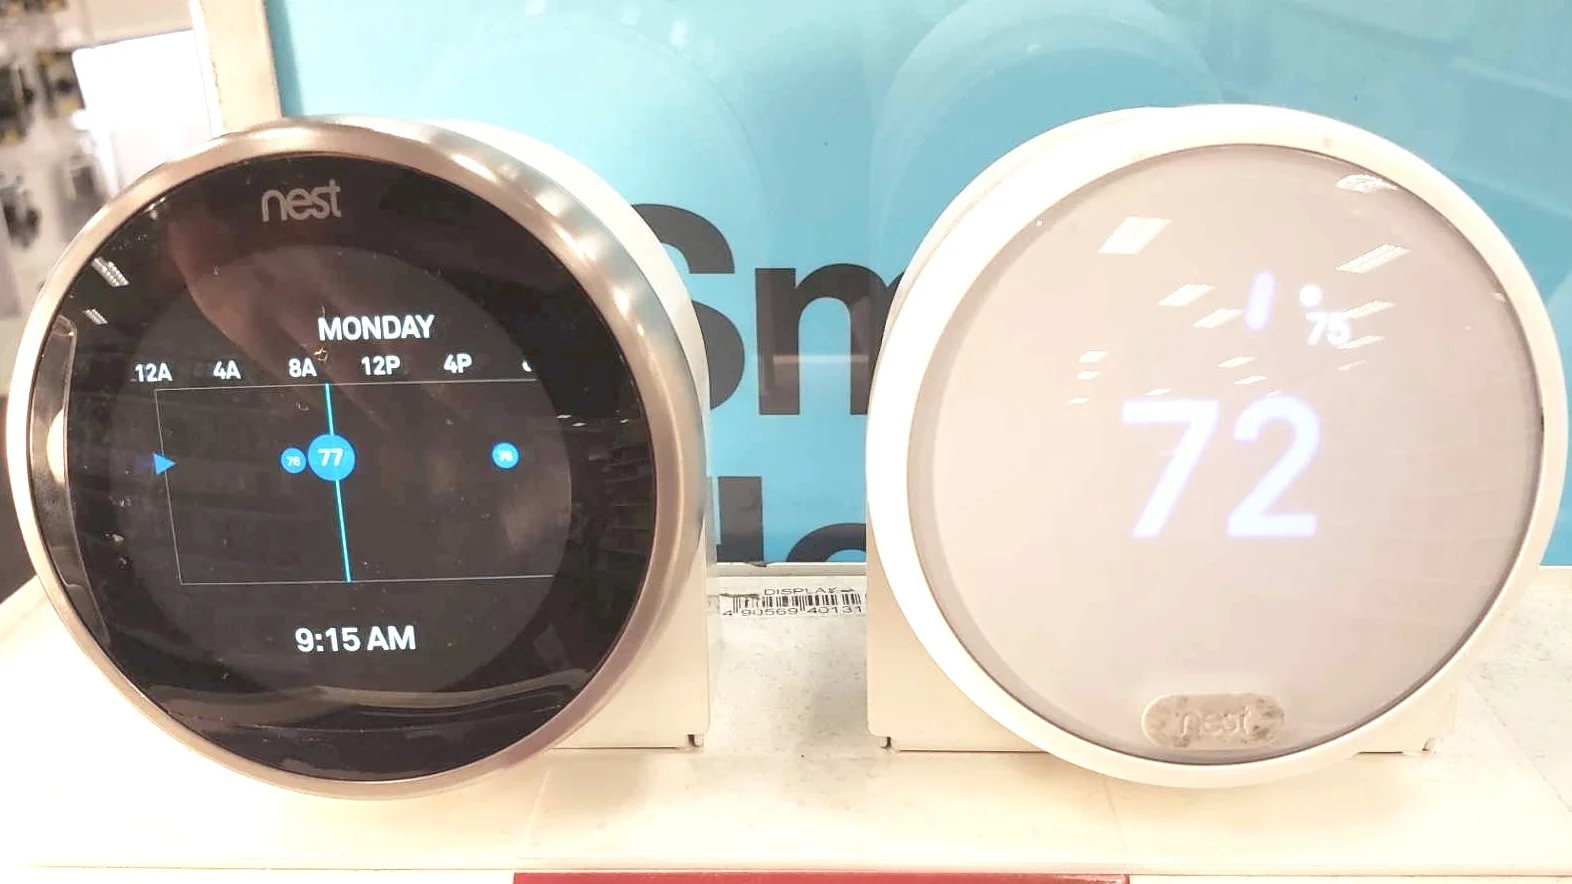
Nest Thermostat 2 Wire Hookup: Compatible Thermostats
#1 Nest Thermostat Generation 3
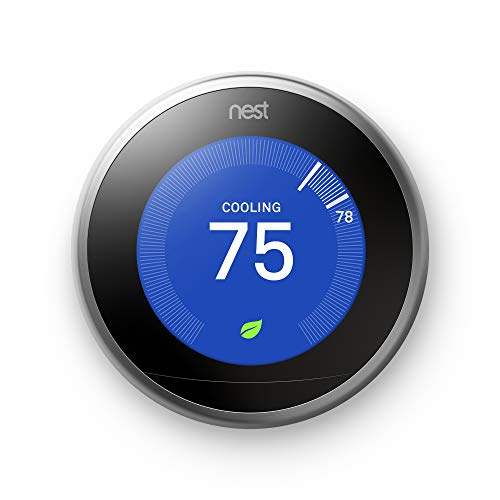
The Nest Thermostat is not only the best 2 wire wifi thermostat but it is one of the best wifi thermostats you can get for your home. The Nest Generation 3 thermostat can be used with heating only and cooling only systems and requires only wires. Either the heat wire and the power wire (W & Rc or Rh) or the AC wire and power wire (Y and Rc or Rh).
Nest Thermostat Features
The Nest Thermostat is a smart thermostat that allows you to remotely control your heating and cooling using your phone or a compatible voice assistant like Alexa. You can adjust your heating and cooling, check the temperature in your home or even turn your HVAC system off all from your phone with the Nest Thermostat. Beyond allowing you to remotely control your Nest Thermostat with your phone the thermostat is packed with smart features that can help you save energy and live more comfortably.
Related Post: Nest Thermostat Review
Home / Away Mode - The Nest Smart Thermostat has built in motion sensors that detect if you are in your home or away from the house. If you enable the Home/Away mode the Nest Thermostat will automatically help you save energy when you’re away from your house by setting your thermostat to more energy efficient settings while you’re at work or on vacation automatically.
Auto Schedule - The auto schedule mode on the Nest Thermostat uses data from your daily routine on when you wake up, go to work and make adjustments to your thermostat to optimize the thermostats temperature based on your daily activities. The Nest learning algorithm makes adjustments overtime to perfect the schedule for maximum comfort
Airwave - This Nest feature works with your air conditioning to help you save energy and money by circulating the cool air in your HVAC system after your air conditioning compressor shuts off. This helps maximize the efficiency of your HVAC System.
Eco Mode - This mode allows you to set an energy saving temperature range that your Nest Thermostat will manage when you are away from your home, this means that your house won’t get too hot or too cold in Eco Mode but will allow you to save energy when your away. You can also just set your Nest Thermostat to Eco Mode on a nice day if you want to save energy.
The Nest Thermostat does not require a common wire in most cases. Even when set up as a 2 wire wifi thermostat. However if your Nest Thermostat needs more power through a common wire it’s easy to add a common wire and we teach you how to add a common wire in another post.
#2 Nest Generation E Smart Thermostat

The Nest Generation E Thermostat is a less expensive version of the Nest Thermostat. It also functions as a 2 wire wifi thermostat. It has most of the same features of the higher end Nest Thermostat but is made from plastic instead of stainless steel and glass like the higher end Nest Generation 3 thermostat. The only other big difference is the Nest E has a slightly lower resolution (320 x 320) vs (480 x 480) than the Nest Gen 3. The difference in resolution is negligible on such a small device to begin with and most people would probably not notice it.
The Nest Gen E Thermostat can be a big saving in comparison to the Nest Thermostat without compromising on functionality. Some people even like the white look of the Nest E Thermostat better because it blends into a white wall when off.
The Nest E still allows you to control your smart wifi thermostat from your phone or with Alexa or Google Home voice assistants using your voice.


