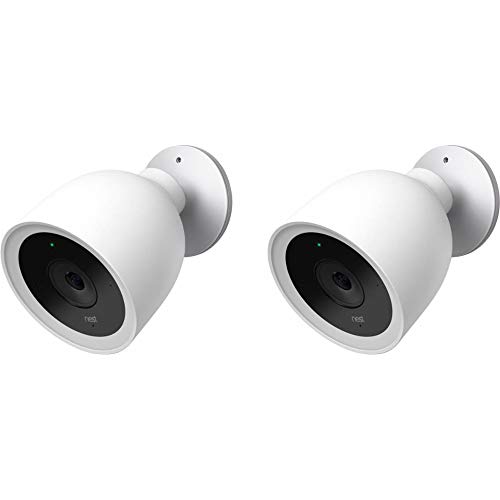
Nest Cam IQ Outdoor Installation Wiring
/
Can install a Nest Cam IQ Outdoor camera with using existing built in ethernet cable or cat 6 cable? Yes, you can install the Nest Cam IQ Outdoor using built in ethernet wiring but be warned this will void the warranty on your camera.
However we have installed multiple Nest Cam IQ Outdoor cameras using built in ethernet cable without any issues, we’ve tested this with up to 80 FT of ethernet wiring without any issues. It could work for longer lengths of ethernet cabling we just haven’t tested it in cable longer than 80 FT.
If you don’t have ethernet cable the standard way of installing the Nest Cam IQ Outdoor is easy, just drill a hole from the exterior of your house to the interior and route the cable through and plug into the camera and provided power adapter.
Before starting your installation if you are using ethernet or cat 6 cable scroll to the bottom of the post and it will provide you with the links to the equipment you should use that will make your installation go smoother.
Step by Step Installation: Nest Cam IQ Outdoor with Ethernet or Cat 6 Cable
Step 1: The easiest way to do this is use the original cable that comes with the Nest Cam IQ Outdoor and cut the cable with enough cable (Read through step 3 before cutting cable) on each end to mount the camera and mount the power adapter. Once you cut the cable there is no going back, nest most likely won’t accept a cut cable in a return. However you could buy the extra cable from nest ahead of time and use it as the cable your are going to cut. The cable with the seal on it is the cable that should be wired to the ethernet cable on the outside of the outside. If your going to mount the Nest Cam IQ Outdoor directly where the old ethernet cable is located 1FT of cable should be enough and you can always trim it down if needed. For the interior cable use your discretion for how much cable you will need but more cable means more resistance in the wires so you don't want to have 10 extra feet of cable inside if you don’t need it.
WAIT UNTIL STEP 3 TO CUT THE CABLE, IT WILL BE EASIER TO MEASURE THE AMOUNT OF CABLE YOU NEED THEN.

Nest Cam IQ Outdoor Installation Wiring: You can see the red, black and yellow wire in the cross section.
Step 2: You should prepare your mounting location to accept the new Nest Cam IQ Outdoor camera. Because it is hard to make water right connections if you don’t have an existing junction box for the ethernet cable your best option it to mount a surface mount box like we did in the photo below. This will give you ample room to make the ethernet to nest camera connections inside a box, where the wiring will be safe from water infiltration. We used this weatherproof quad box and cover. You will need to drill two mounting holes in the back of the box to secure it to your house and you will need to drill a small hole in th cover where you are going to install the nest cam to pull the cable through. Mount the box over top of the existing ethernet cable and pull the cable through the hole in the back of the box.

Step 3: Cut the cable to the length you need to mount your camera but not too long that it won’t fit into the quad electrical box. Once you cut the cable you will need to strip and separate the strands. There is a red, black and small yellow cable. The red and black are power cables and the yellow cable is a communication cable. For the nest IQ outdoor camera to work you will need to make sure that you connect these cables to the same ethernet cable cables on each end.
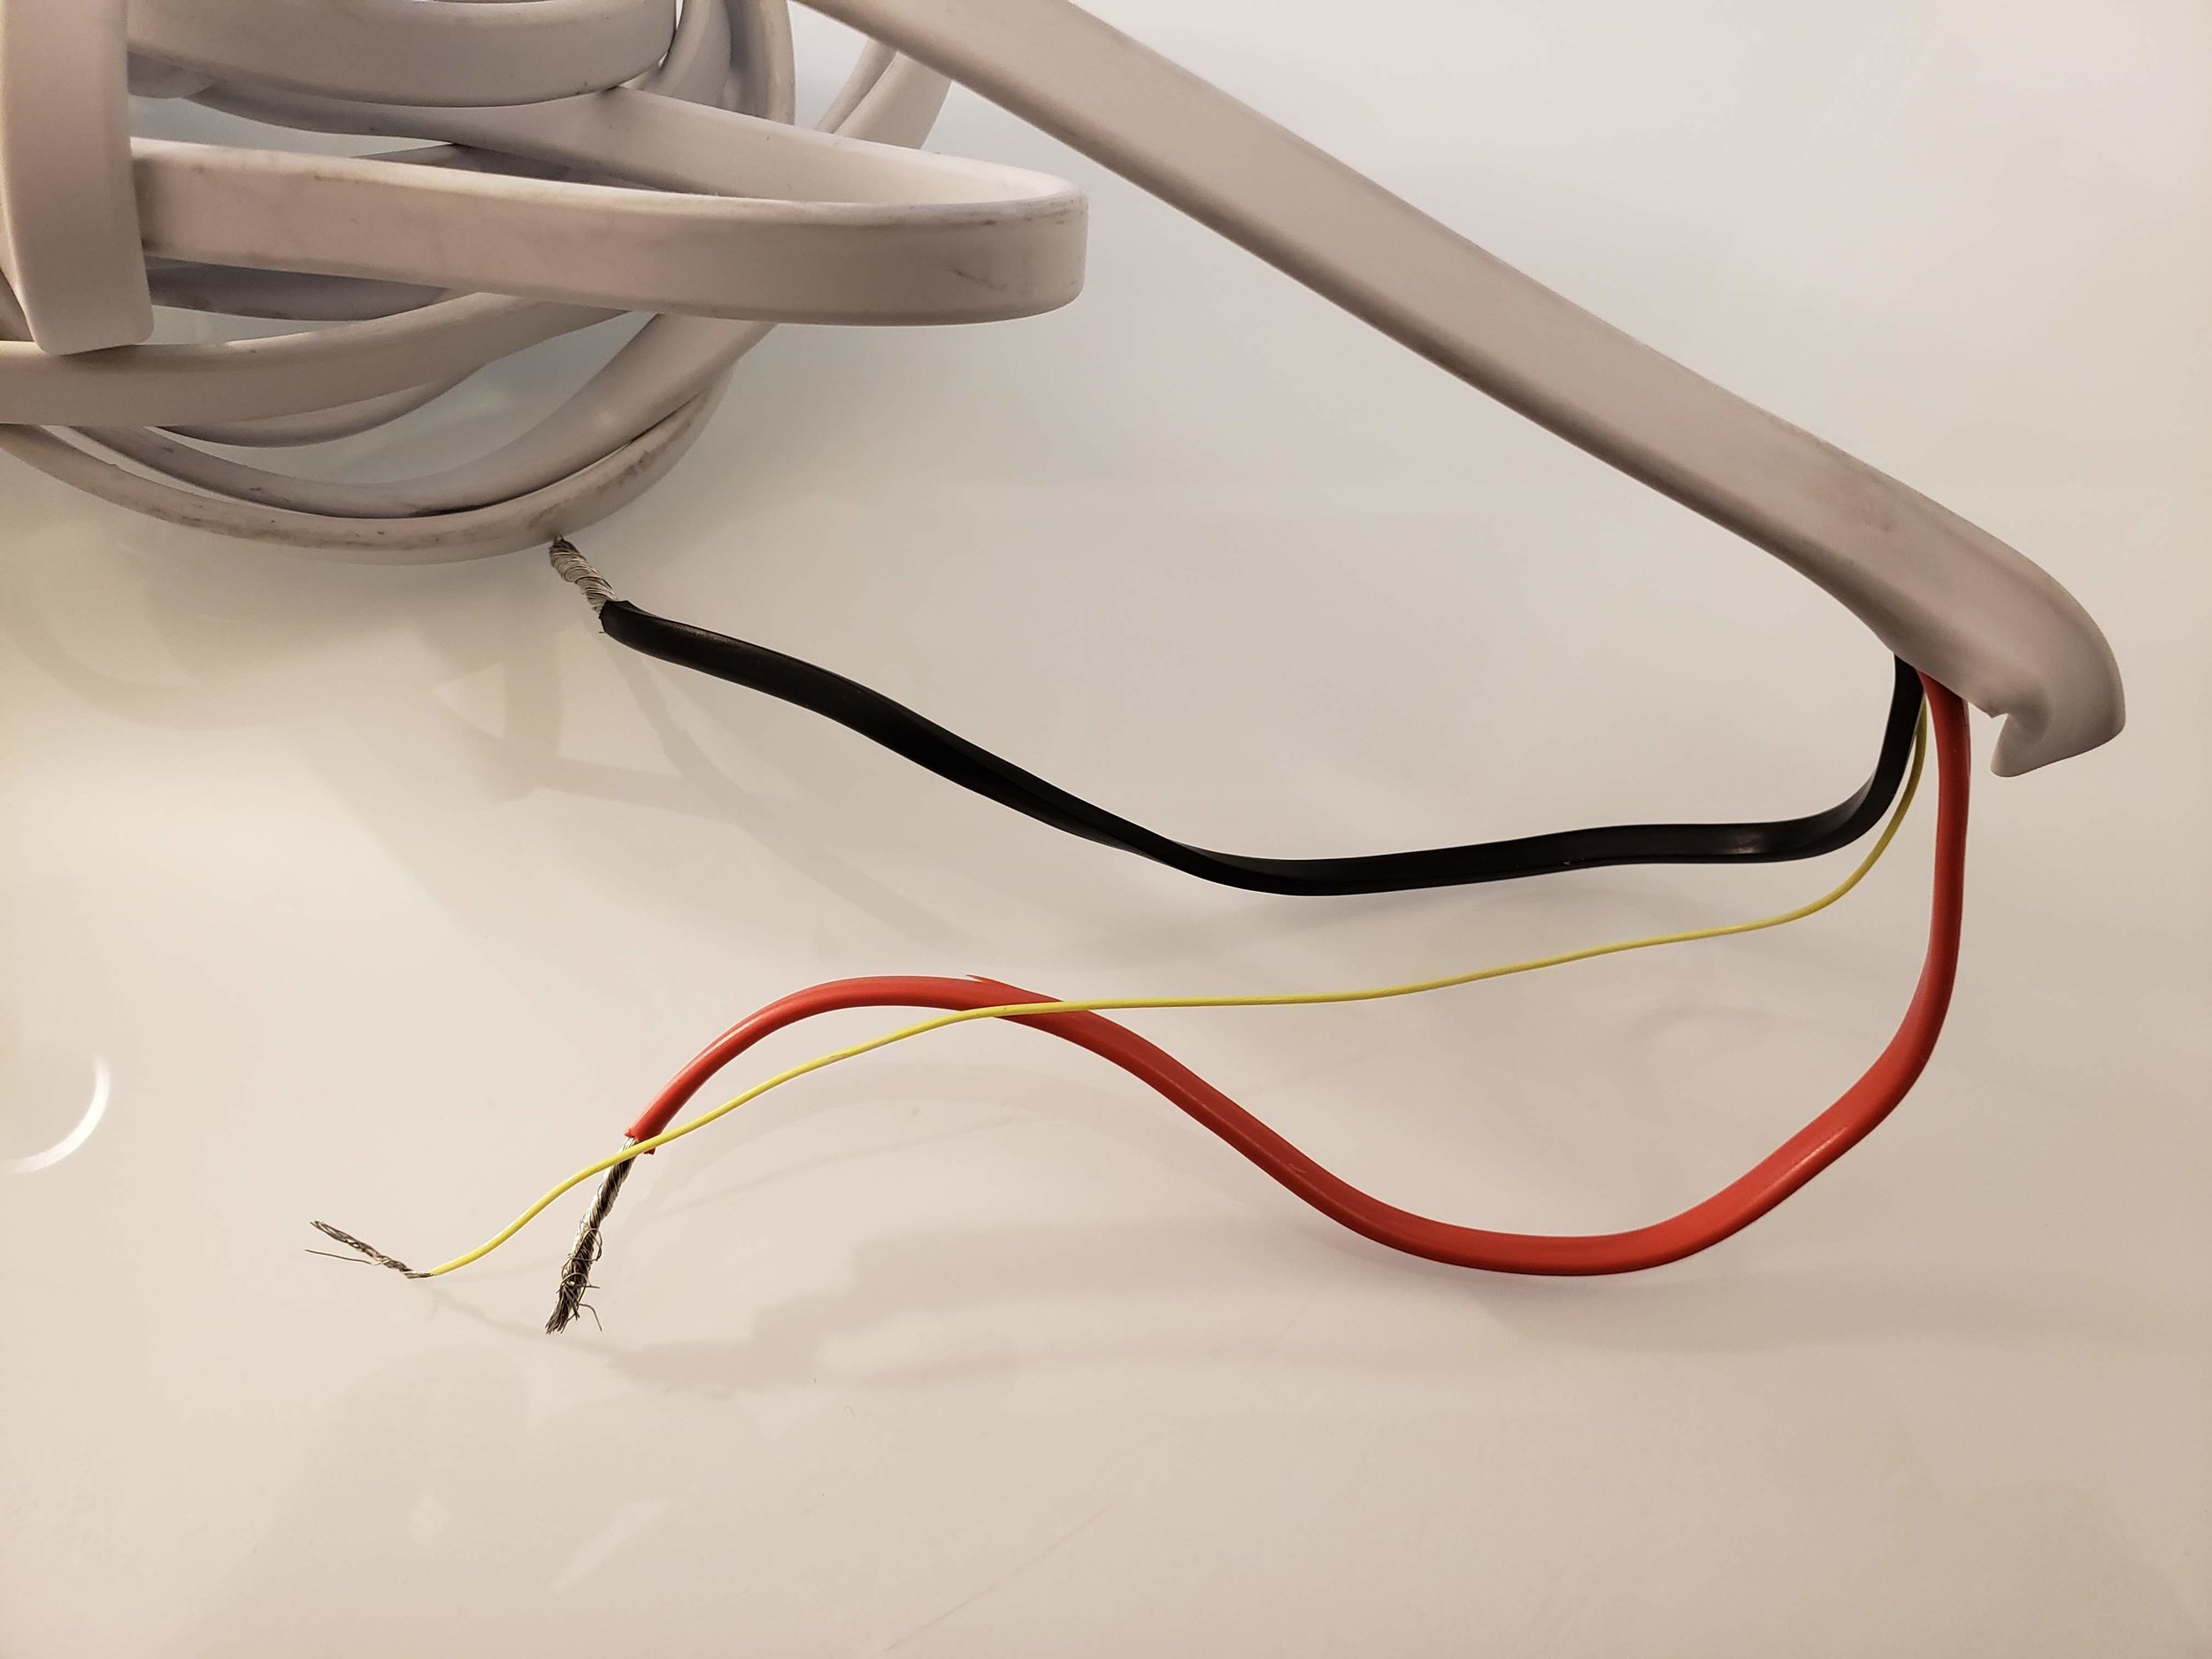
Nest IQ Outdoor Cable Cut & Stripped. Yellow, Red & Black wire ready for installation of the Nest IQ Outdoor.
Step 4: Take each end of the ethernet cable and strrip and seperate each individual strand. Ethernet cable has multiple colored cable strands typically there are 8 individual cables strands in each cable.
Step 5: Designate a color strand that will connect to the yellow communication cable on each side. Because the wire is so thin and you don’t want interference use these wire connectors. Make sure you crimp the wires tightly and give them a soft tug to ensure they are connected and secure. You should then wrap the connector in electrical tape just to make everything extra secure.
Step 6: With the yellow communication wire connected on each end securely you can now start to connect the remaining cables. Designate 3 of the remaining cables to connect to the black wire on each end and 4 of the other remaining cables to connect to the red wire on each end, if your having trouble fitting cables into the connectors your can use pliers to squeeze the connectors to open them up slightly to insert the cables. Make the connection, crimp, gently pull to test the connection security then wrap in electrical tape.
Step 7: With your connections made inside and outside you are now ready to mount the camera. Mount the back plate, screw in and secure to the weatherproof box cover. Mount the box cover and pull a small amount of the Nest Cam IQ Outdoor wiring through. Take a picture of the QR code and installation code so you can enter the code into the nest app. Open the nest app and follow the first few steps until you scan the QR code on the back of the nest camera.
Step 8: Plug in the Nest Cam IQ Outdoor and firmly push the camera onto the mount until it is secure.
Step 9: Plug in the other side of the cable to the interior power adapter and plug the power adapter into an outlet. Congratulations your Nest Cam IQ Outdoor camera is now installed and you can follow the setup instructions in the app.


